Tuesday, February 19, 2013

Black Bean and Tofu Enchiladas

Tofu gets a bad rap. Sure it is flavorless. Sure it smells like chalk when you're cooking it. Sure you end up spilling that nasty water all over your hands while trying to stab open the tub. Butttt... Done right, and I would trade a steak for it. It is awesome at soaking up flavor, and the chewy cubes are a delicious substitute for meat.

First things first. Crack yo' self open a cold one:

Don't mind if I do.
Anndd press your tofu:


Out, out, damn water!

Two plates, paper towels, and something heavy. Enjoy your drank while you wait for it to lose some moisture (30 minutes or longer). Pressing tofu ensures that it will crisp up and not pop and scald you while it is frying. Ouch.

Ingredients:
1 block extra firm tofu (or cubed chicken if carnivore version)
3-4 nice looking Roma tomatoes
1 4 oz. can fire roasted green chiles (I really recommend fire roasted, more flavors)
1 15 oz. can black beans, drained and rinsed well (EWW bean water part 2)
1 packet taco seasoning (I love Old El Paso, or chili powder, onion powder, garlic and cumin to taste)
1 large can red enchilada sauce (sorry forgot how many oz.)
12 medium flour tortillas (I used white this time, wheat also good, or corn for GF)
shredded sharp or extra sharp cheddar for the top (how much is up to you)
pickled jalapeno slices (don't be a wimp, these are legit delicious addition)
enough olive oil to saute the tofu

Hide and seek tofu!
Blurry sorry :(


Beer's done, and now so is the tofu. Cube it into roughly the size of the black beans (or a lil bigger) and saute in a nonstick skillet on medium high until they are tiny brown cubes of love.

Not so tasteless now, are we?

Roughly chop your Romas:

Seeds and all.

And add them and the chiles and let it all sweat out a bit. Then add your black beans, 8 oz water, and the taco seasoning; continue to simmer on medium high until thickened into a nice gooey filling. Remove from heat.


Ladle a couple spoonfuls of the enchilada sauce on the bottom of a 9x13 dish and create your assembling station:

Left to right.

Scoop filling, roll tight, and place seam side down into the pan, squishing them together as you go until all them babies are in there.

Snuggled.
Pour rest of enchilada sauce over the top and spread to coat evenly.

The sauce keeps the outer edges soft.

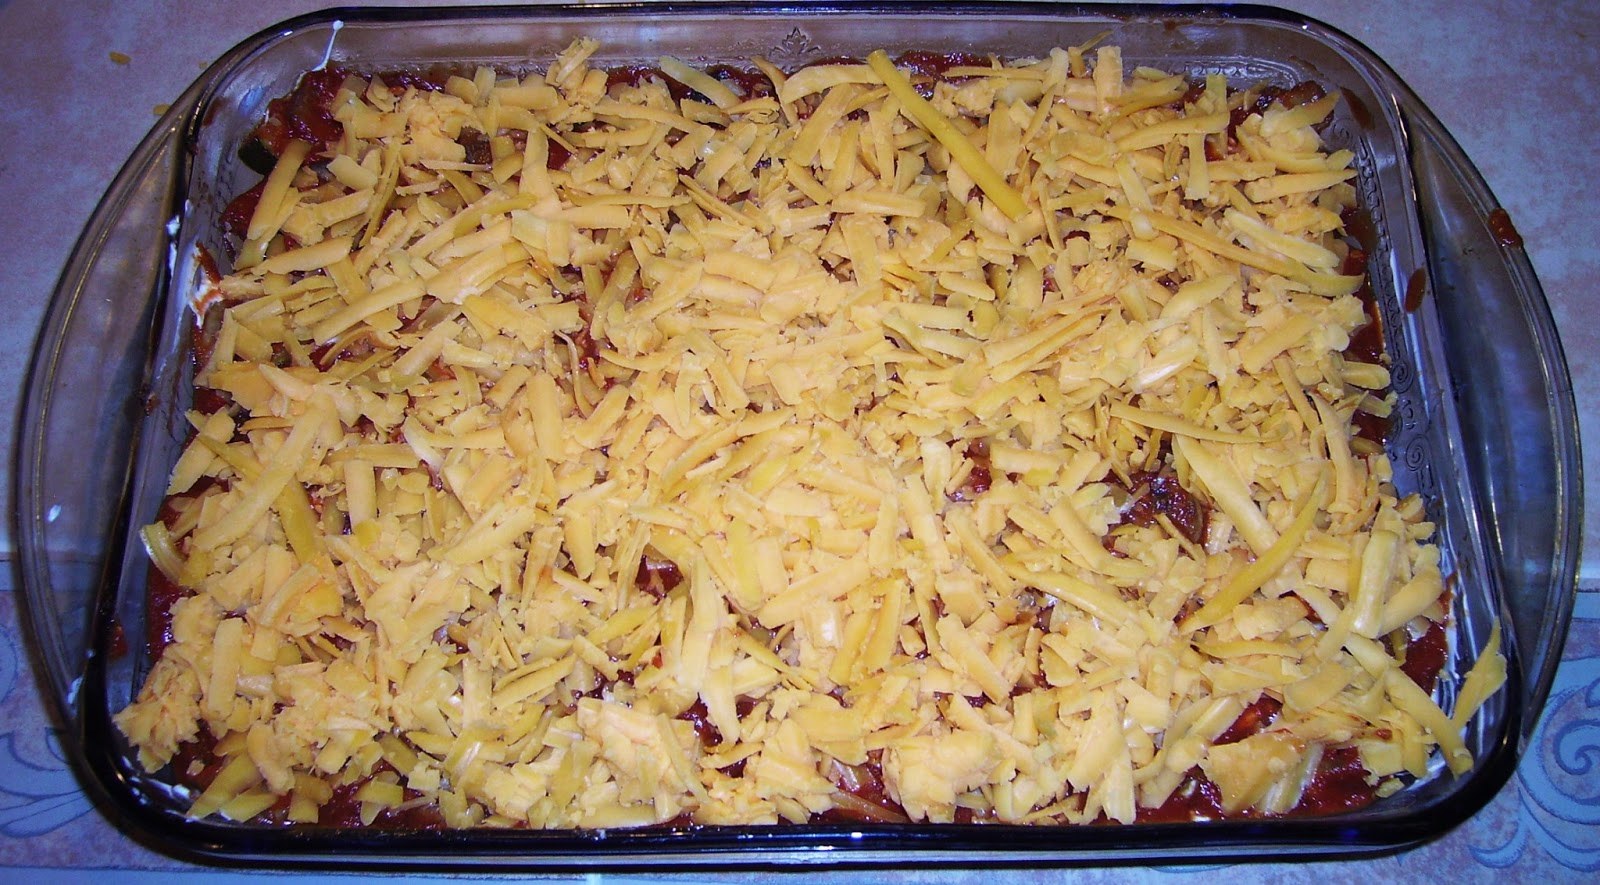
Put the jalapenos on first, then layer the cheese over. Shrubs no like the hot stuff so we did a third light cheese, a third extra cheese, and my third SPICYYYY.

Thirds.

Pop in oven at 380 for 35-40 or until sauce on top has thickened and cheese golden.

Actually I'll take the whole pan, thanks.

Get out accoutrements if you like: sour cream or crema, lettuce, tomato, black olives, avocado, etc.

My favorite sour cream, if you can find it.


Annnnnnnnnd BAM.

Eff.

Holy crap, I can't even tell you how good these puppies are. They couldn't get in my mouth fast enough. And they are even better as leftovers, if you can believe that.

But the very best part? They are Shrubs approved :)

Happy Shrubs!


Saturday, February 9, 2013

Side Quests: Easy (and effin delish) Garlic Bread


As promised, here is the recipe for my easy garlic bread. I make two other fancier, more work-intensive varieties- but those are posts for another time ;) This bread will kick any Italian meal up a notch- heck will kick it up for any other meal where bread is required!! My advice is to purchase a nice fresh good quality loaf of bread, it makes a difference. If you have a bakery, or shop at a grocery store that has a bakery, great. Otherwise I bet Panera loaves would be a good choice.

Simple cast.

Ingredients:
1 loaf French or Italian bread, split lengthwise and cut into  four pieces
garlic salt- to taste
Italian seasoning-to taste
crushed red pepper- to taste (I like my bread to be of the lip numbing sort yeehaww!)
grated Parmesan- about 1 T. per piece of bread
1 stick of butter, softened

Place bread on cookie sheet and spread each piece  with 1/4 stick of the butter. Sprinkle garlic salt next, followed by the Italian seasoning, red pepper, and finally the Parm. Now- take your knife and blend the spices and Parm into the butter on top of the bread until it looks homogenous. This is the trick to get the cheese nice and nuttily toasted, and the spices distributed evenly. No one likes an overly salty bite, yuck.

Forgive my ugly cookie sheet lol.

Pop into the oven set to broil until as brown as desired. Certain members of the fam like theirs blackened but I prefer mine more like so:

Get in my mouth!

This is simple but soooo delicious. The cheese toasts up, and the innards of the bread get soaked with delicious butter then they crisp as well. The red pepper is realllly the secret oomph it needs. Gosh. Could gnaw on those crunchy edges every damn day. And (shhh) sometimes I skip the pasta and just spread my spaghetti sauce right on the bread. Like a fat kid. Enjoy!

Thursday, February 7, 2013

Fake (veggie) Lasagna

Lord knows, lasagna is wayyyy too much work. I greatly prefer this recipe both for its ease AND for the umami punch that real lasagna is missing. It can also be adapted for carnivores, by subbing the veggies with ground beef.

Oh, and now let me get on my pedestal about ground beef.
Ahem.
I highly recommend you do not waste your money on packaged ground beef from the store.
No.
Just.... just... don't. It is cheap and fatty and tastes like crap, and you usually have to skim copious amounts of grease off. Packaged ground beef is akin to dog food, in my opinion. Gross.
No.
What you need to do is grab a package of round or sirloin steak from the meat case and have your butcher grind it. Even if you shop at a chain grocery store like I do (i.e. not a fancy butcher shop), they can/will grind it for you. The price works out to just about almossst the same amount per pound, and you'll be able to tell the difference when frying up-no disgusting odor while cooking; and no disgusting skimming off of cheap/rank smelling fat! Also, you see exactly what is going into your "ground beef". No assholes and snouts on your watch! All of those reasons plus hey- your Hamburger Helper tastes of sirloin. Not bad. :p

Okay, rant over. Our lineup will be in layers this time:

First layer-the sauce/topping

Ingredients (Topping):
1/4-1/2 tsp. garlic powder
1 tsp. salt
1 tsp. sugar
2 tsp. Italian seasoning blend
couple good shakes black pepper
2 8 oz. cans low sodium/no sodium tomato sauce, plus one of the empty cans worth of water
2 T. tomato paste
16 oz. button/bella mushrooms-sliced (sub ground beef for vegetables if making carnivore version)
1 small/medium zucchini-sliced into half moons or quarters
Enough olive oil to saute veggies

Extra virgin, please :p

Heat oil til shimmery and add mushrooms. Saute on medium high till brown, then add zucchini.

I changed my mind and quartered them later.

Sprinkle with Italian seasoning and garlic, cook til zucchini just starts to break down.

Gettin there!

 Add tomato sauce/can of water, tomato paste, sugar, salt, and pepper. Turn heat down and simmer for 15-20 minutes. Meanwhile, start second layer.

Ingredients: (Second layer)
8 oz. softened cream cheese (full fat please)
8-10 oz. sour cream (full fat please)
2 T. fresh or dried parsley
1-2 T. fresh basil, chopped or chiffonaded (that green blobby is frozen basil, I do not recommend it)
2 T. GRATED onion

Good lord frozen basil was a bust.

 Mix all the ingredients til smooth, set aside.

Grated onion ensures  no superstrong onion flavor.

Start third layer-16 oz rainbow rotini cooked al dente. When done rinse in a colander/strainer til water runs cool and layer in the bottom of a 9x13 casserole like so:

Gorgeous!

Your mush/zucchini topping should be thickened by now, remove from heat and start assemblage! Spread the cheese mixture (second layer) over the pasta and the mush/zucchini topping over the cheese mixture:

Second!


Third!

Lastly, grate 12 oz. of sharp or extra sharp cheddar and sprinkle over the very tiptop:

Extra sharp is the way to go ;)

 Bake at 375 for 35-40 minutes or until the cheese is brown and bubbly.

Delicious burnt cheese...

As you can see, I like mine VERY brown and bubbly ;) This is comfort food at its finest. The salty umami tomato sauce, the two different cheeses-mild and sharp, the chewy earthy tasting tri color rotini, the pleasant give of well-cooked zucchini in your teeth.... Ugh. Heaven.

The next post will be a recipe for the easy garlic bread I made to accompany this meal. Here- enjoy a preview ;)

Food porn!